Recreating the Dior Dress, Part 2: Tweaking the Pattern
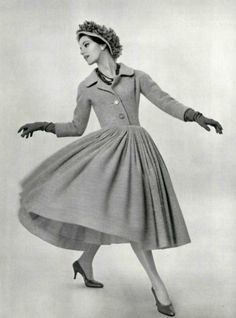
Dior's Palais de Glace Dress 1957
Well, my sewing days kind of vanished after I got myself all set up and ready to go back in February. I blame Alabama weather, where we've gone from 35F to 80F and back down to 30F in a very short time span...and that has meant head colds, runny noses, and coughs amongst the small set in my house. Cut to me mixing up vile-tasting concoctions that included apple cider vinegar and garlic, annnnnd I think you get the picture.
BUT... none of that has stopped me from keeping my brain hopping with ideas for this dress or from playing with the interfacing toile I pinned to my mannequin! In this post, I'm going to walk you through the steps I've taken so far to adjust my Girls' Classic 1950s Shirt Dress pattern to fit my measurements...and what I've had to un-do. As I mentioned in my first post, my goal with this project is to create a dress that is a fairly close reproduction of the 1957 original but without having to draft a totally new pattern. There are many projects where I start from scratch, but I love to save steps when it is possible to get the correct look without hours of extra effort. I'm going to show you how to do the same.
First, I Had to Print a New Pattern...
When I opened the trunks containing my sewing supplies that I'd packed in South Africa last August, I didn't find my own patterns, oddly enough. I went through every box I could think of, but they had vanished, and I can't for the life of me think of what I did with them...unless I gave them to someone when I left SA (entirely possible, but you'd think I'd remember!). So, that meant I'd need to print the ePattern and trace a copy to work with. I congratulated myself that I could scale the pattern up, since the girls' size 16 was too small for me. That's one benefit of ePatterns: you do the math and scale up as needed. I ran my little formula and found I needed to print to 110% scale:
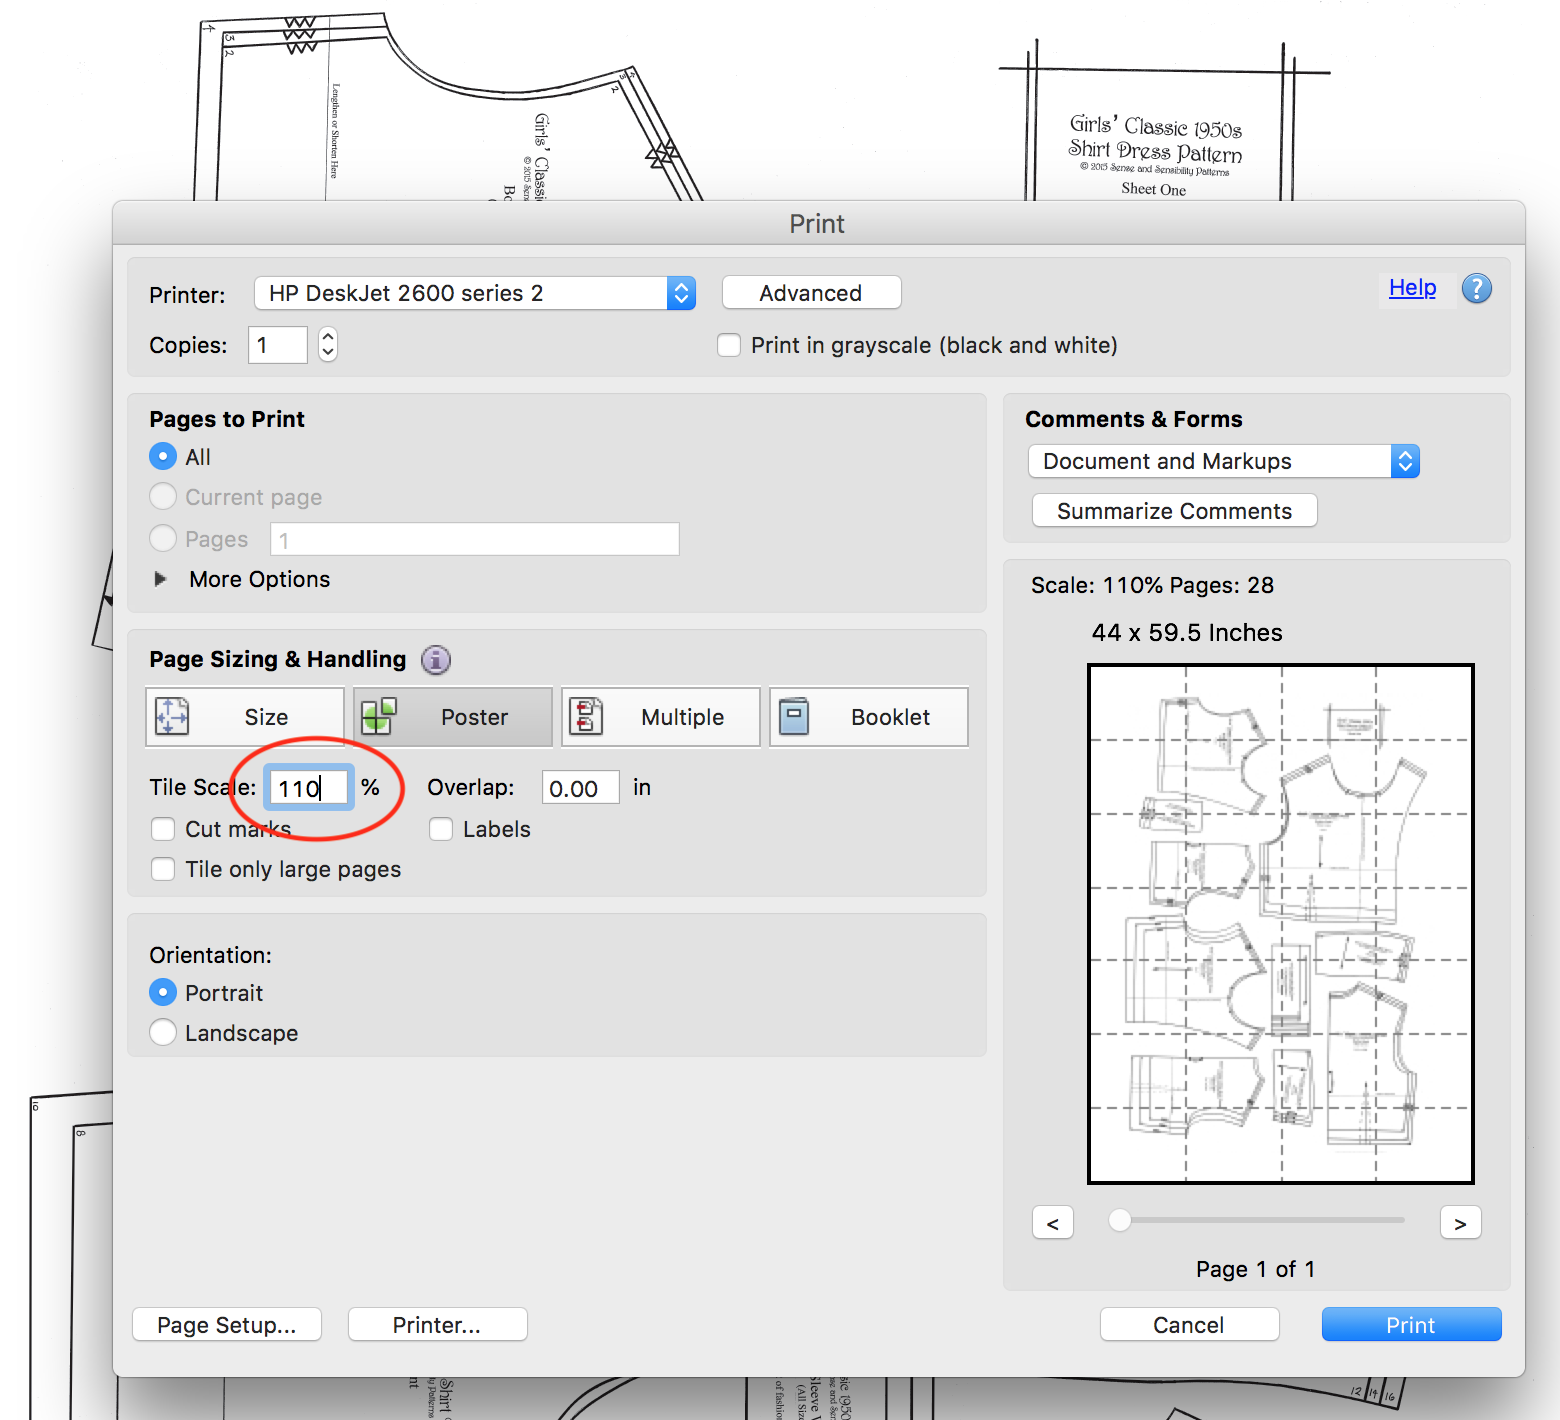
ePattern Scaled
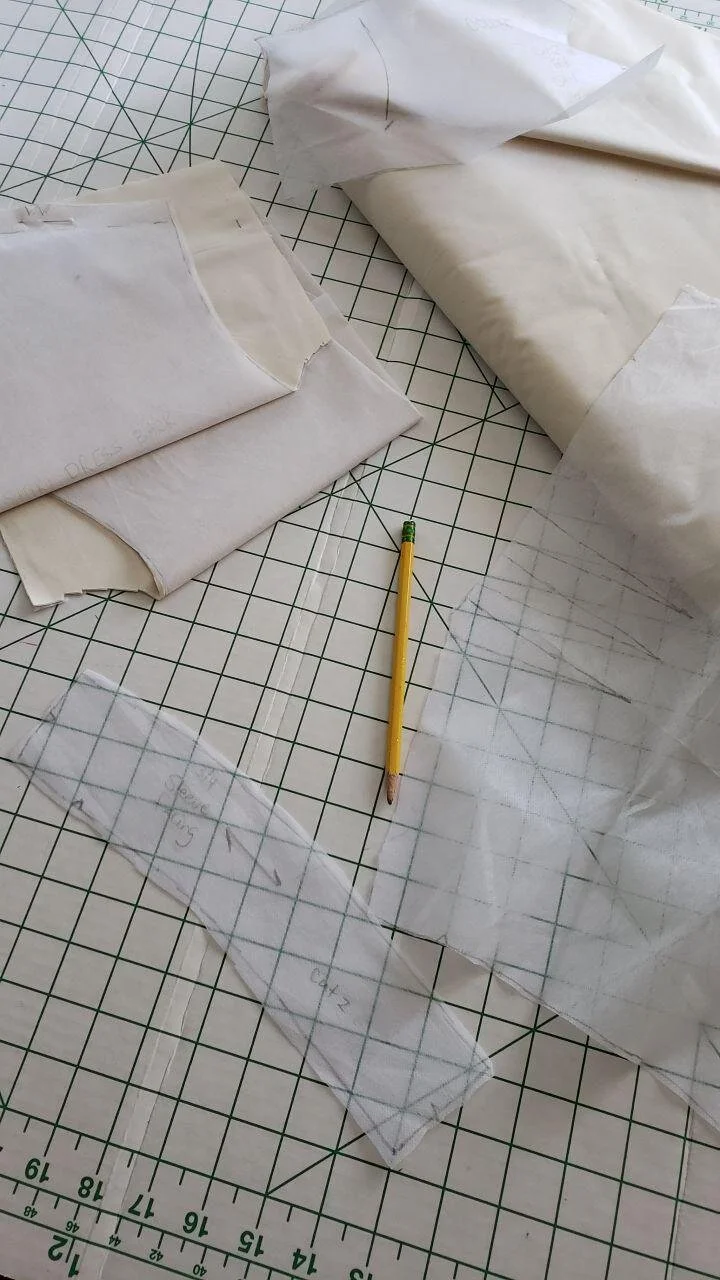
Once I had the sheets printed out, I tiled them and taped them together, then laid non-fusible interfacing over top to trace my master pieces (I love using interfacing or Swedish tracing paper for patterns!):
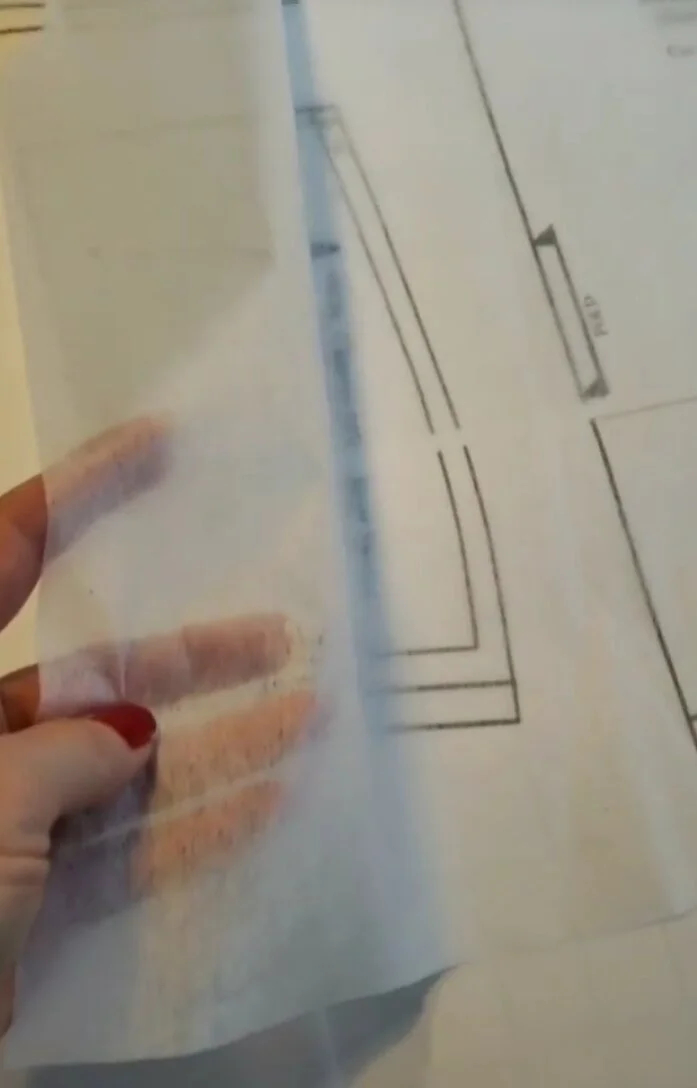
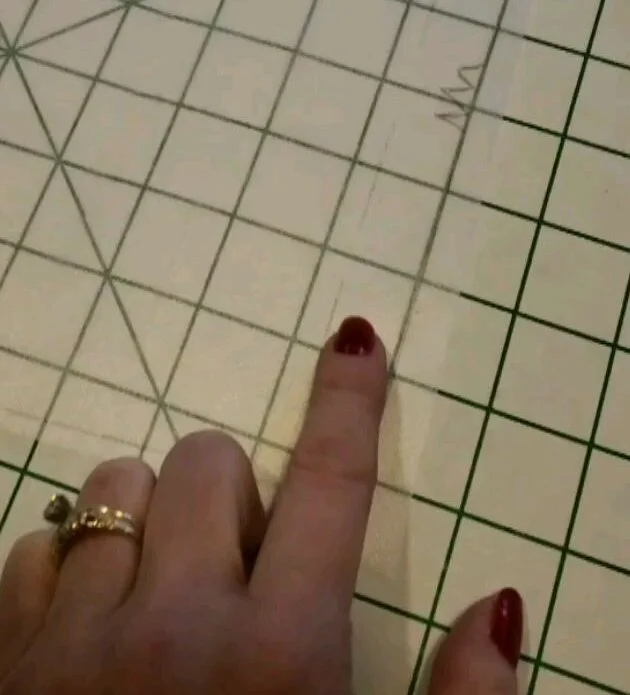
Once I had all the pieces traced and cut out, I marked the 5/8" stitch lines and trued all the seams to make sure everything looked spot-on. (Truing seams simply means making sure that your seams line up correctly and match perfectly along the stitching lines.) In the photo below, you can see the dotted line I made to mark the 5/8" seam allowance (it's a little easier to see in the second photo against the mannequin):
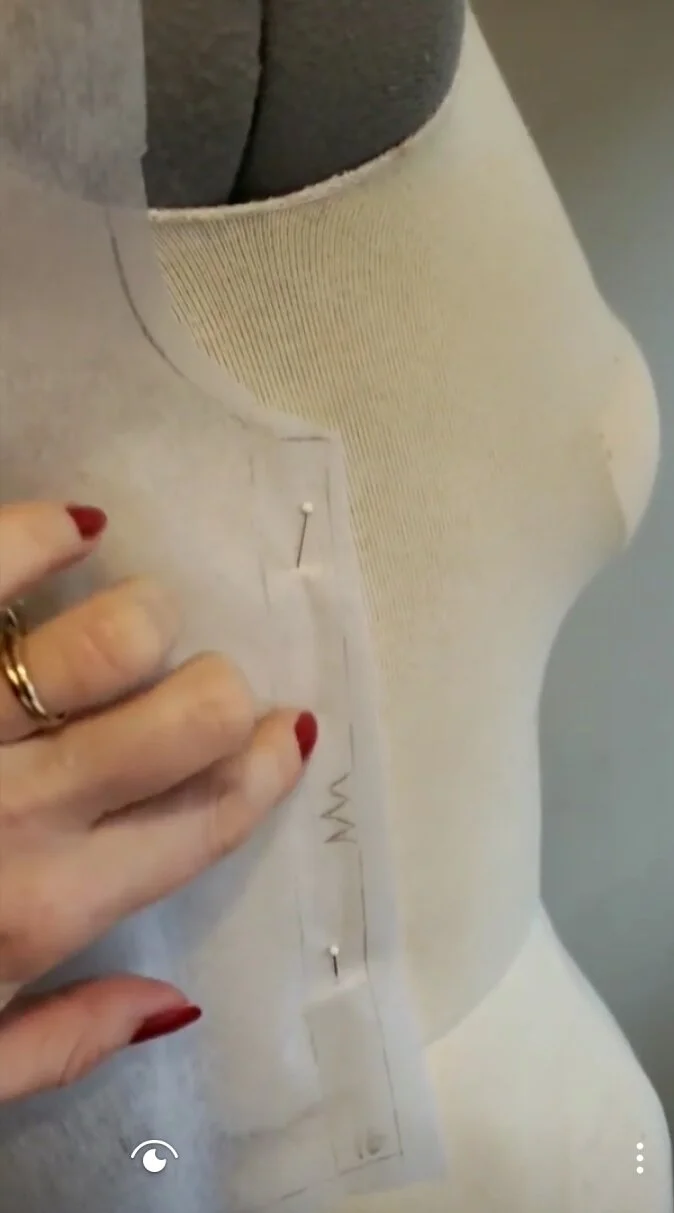
I also marked the darts as given on the bodice front and back pieces, knowing full well that I would have to adjust them quite a bit to fit my adult shape correctly. After pin-fitting the interfacing bodice on my mannequin, I could immediately see that I would need a side dart on the bodice front to get a correct shape, so I went back to my cutting board and made a paper version of the bodice to manipulate to create that side dart:
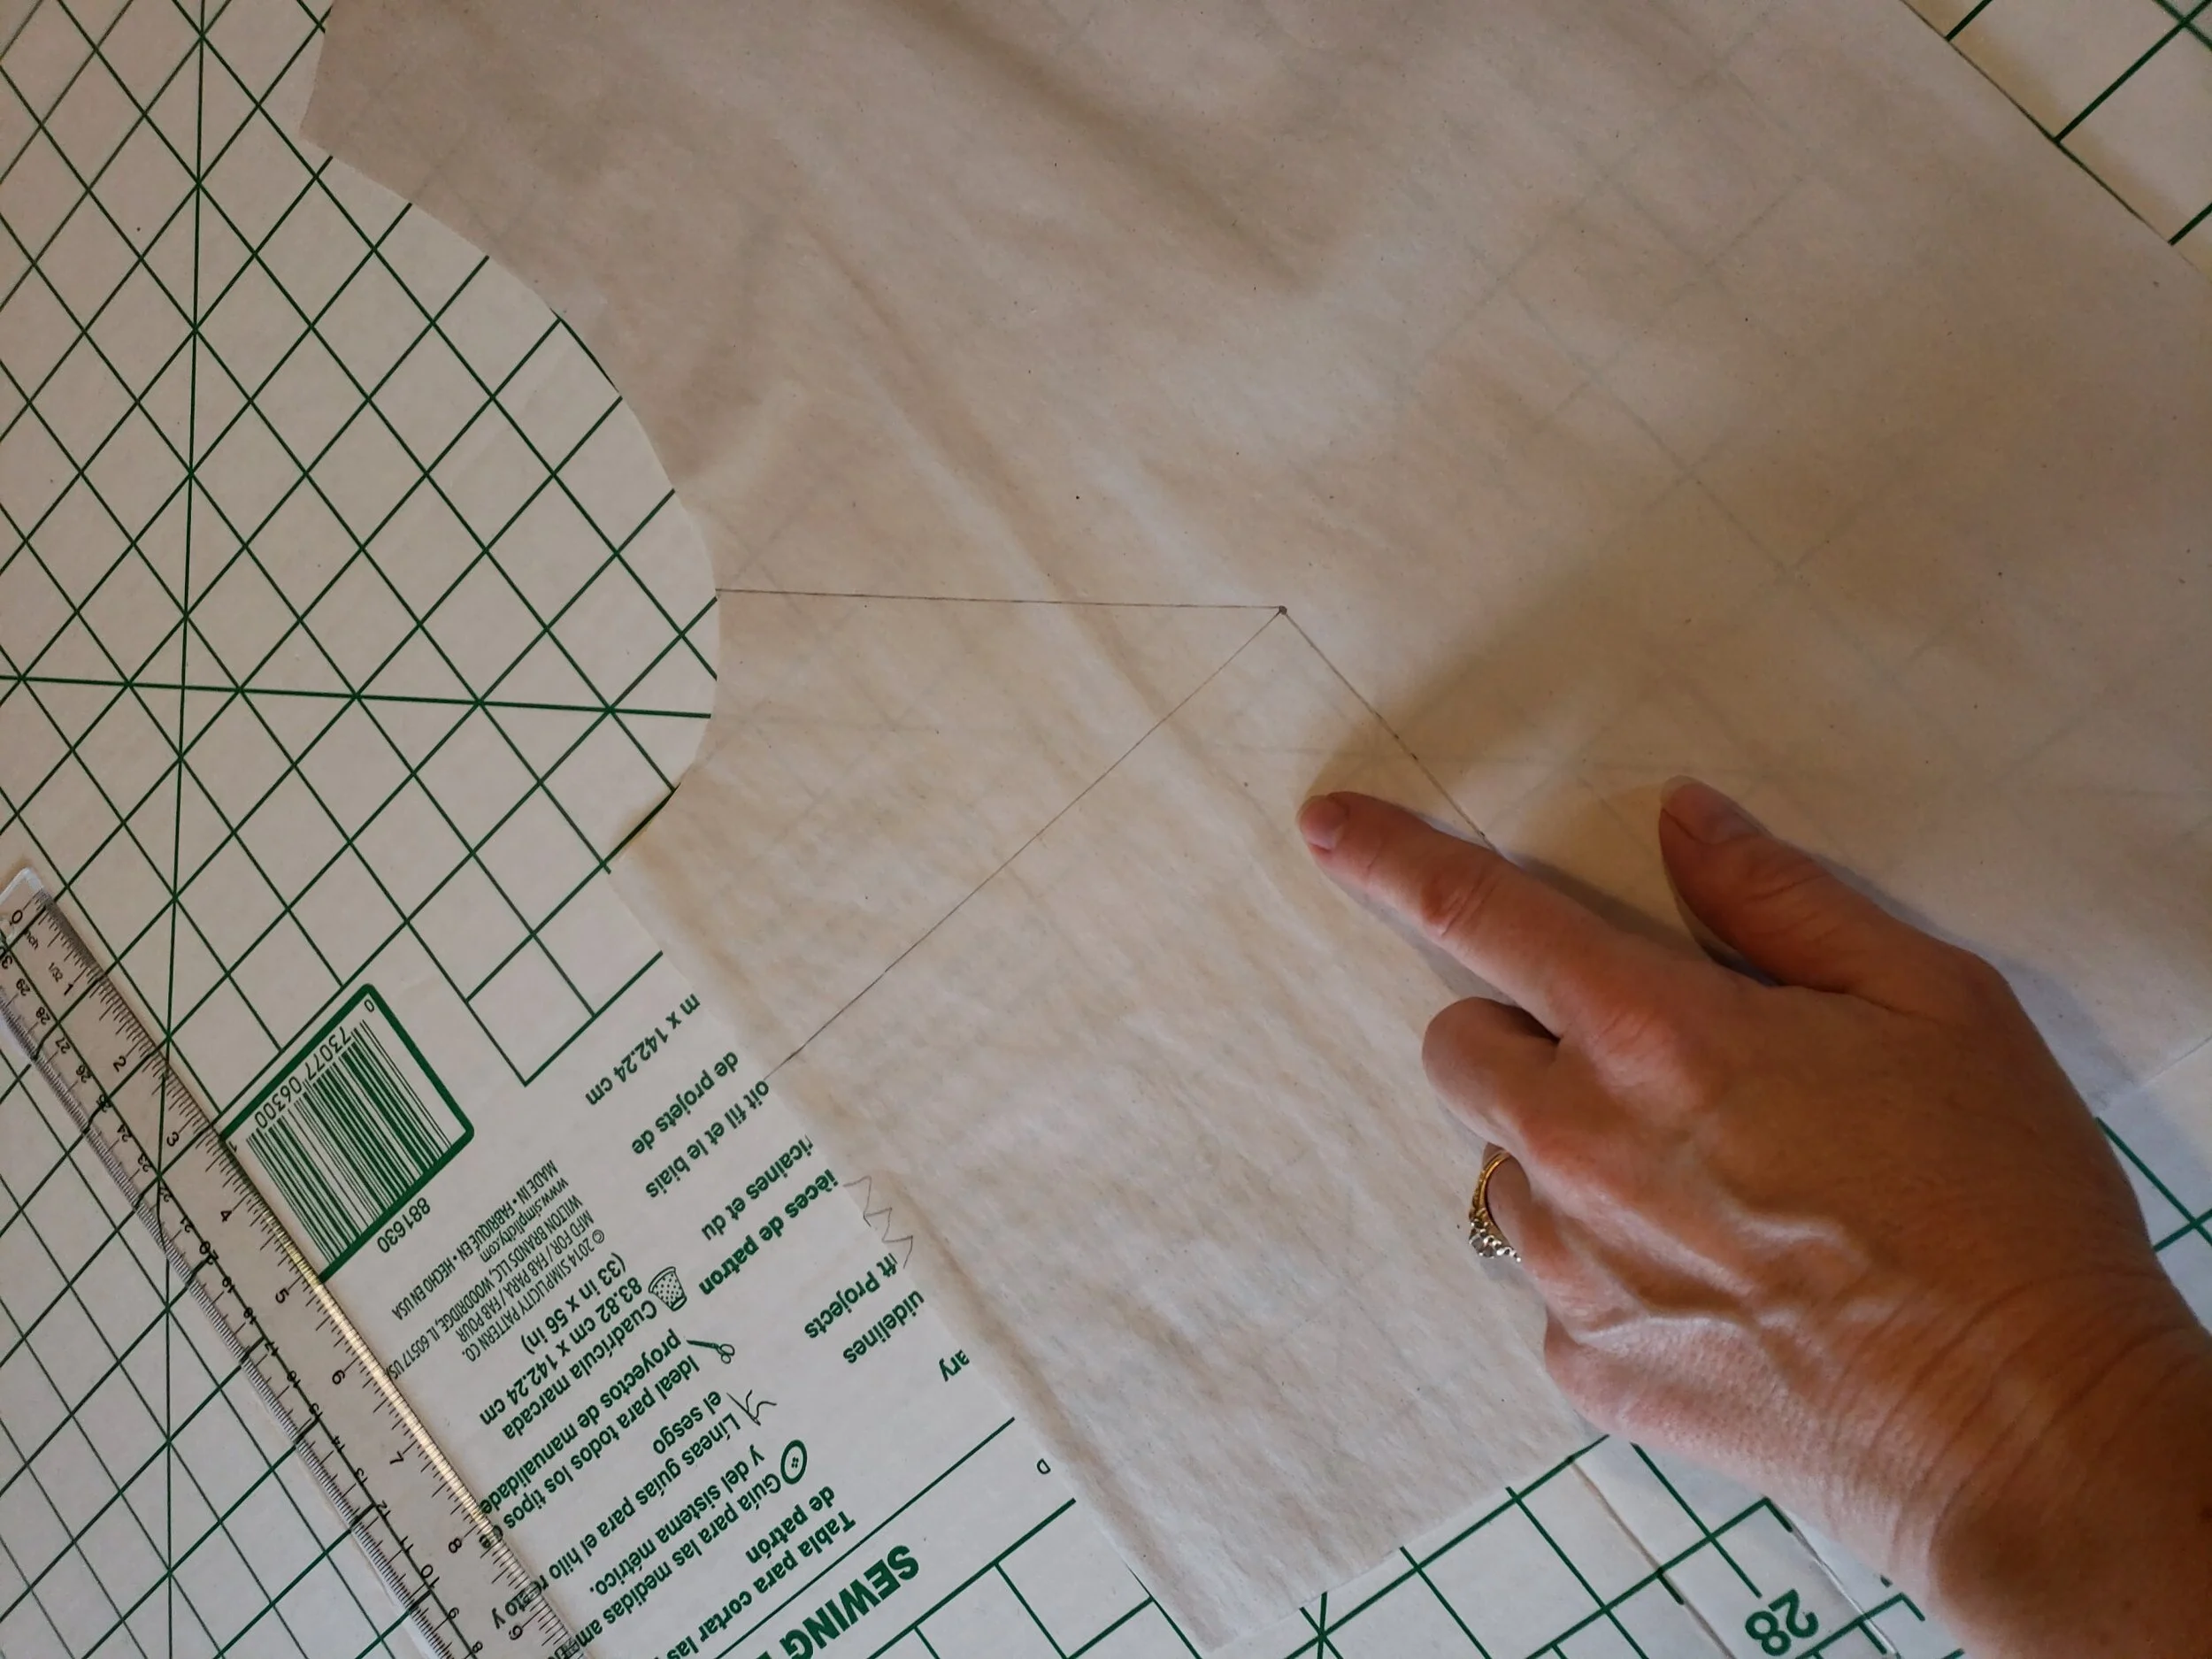
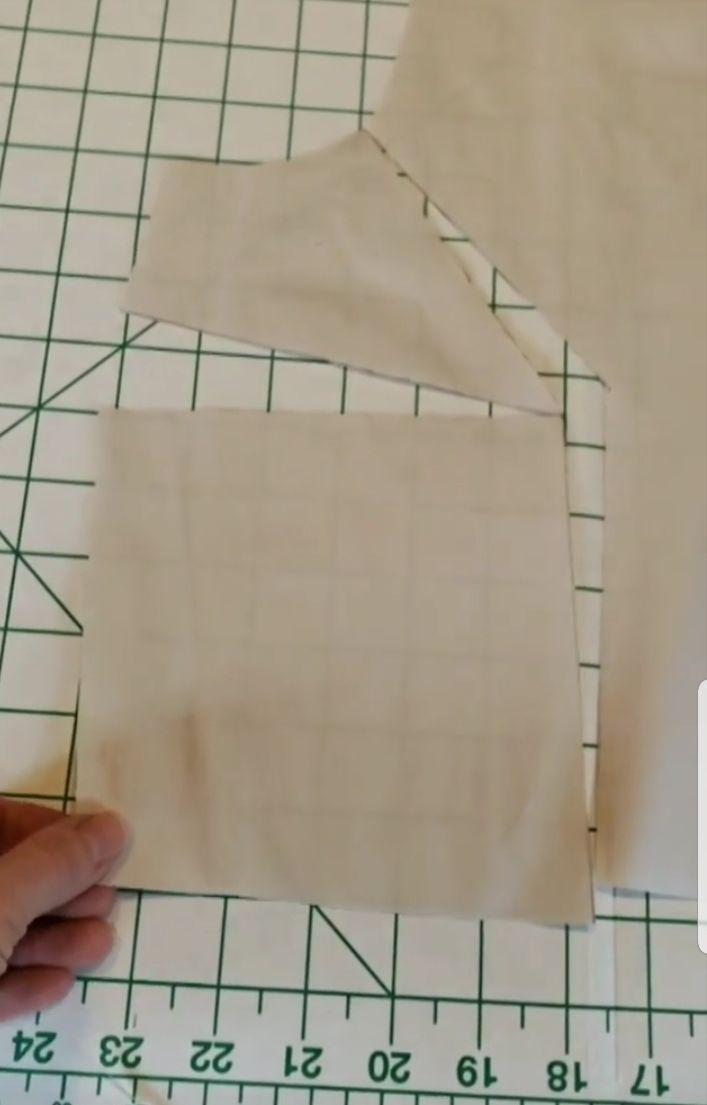
Adding a side bust dart
I recorded a little tutorial for my Instagram Stories (saved under "Darts" in my Highlights), but you can find a lot of excellent video tutorials on YouTube that show how to make this adjustment to the bust of any pattern (here's a link to a very good one that explains the full-bust adjustment in detail). I played around a bit more with the interfacing toile, happy with how things were looking, then made my final markings (including shortening both bodice pieces to account for my short-waisted figure) and cut out the muslin bodice. I cleaned up my workspace for the day, planning to come back on the weekend to sew the new toile. And that's when the temps dropped and my kids got sick and my husband went out of town and...yep, real life happened. Fast forward two weeks, and I was finally ready to dive back in.
Trying on the Muslin Toile...
Once I had stitched together my new bodice with its side dart, I tried it on my mannequin and pinned the darts in place. Then I stepped in front of my full-length mirror and tried it on myself. To my utter disbelief, it was too big. The close fit I had worked so hard to achieve on the mannequin was gone. Where had I gone wrong? First, I decided to re-measure my mannequin to make sure she was set to my measurements. Yep. She exactly matched the measurements I had dialed in and padded up to back in January. Shaking my head, I decided to measure myself again. Lo and behold, I had lost a full inch from my waistline and half an inch from my underbust (yay for spinning and pump classes!). I dialed my mannequin down to reflect the new measurements, then put the toile back on it.
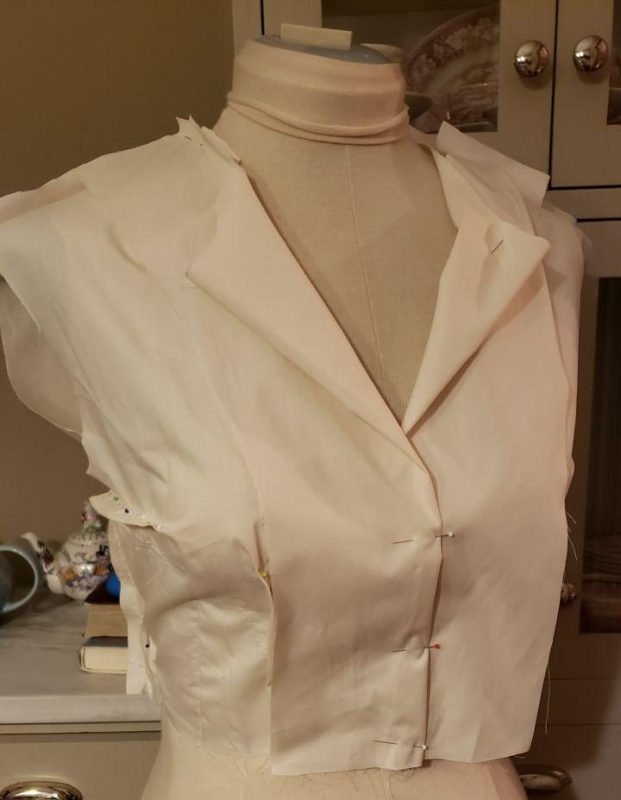
Muslin Toile
Yes, indeed, the close fit I was aiming for had vanished with that inch...and that's when I had an idea: Why not just print out the girls' pattern at 100% scale and use the size 16? The girls' version of the shirt dress pattern has a more generous amount of ease than the ladies' version, since it is intended for a more comfortable, blousy (read "kid-friendly") fit. To get the very fitted look of the Dior dress, I basically wanted only enough ease for movement, and I bet myself the size 16 would be perfect.
Back to the Drawing Board...er...Printer!
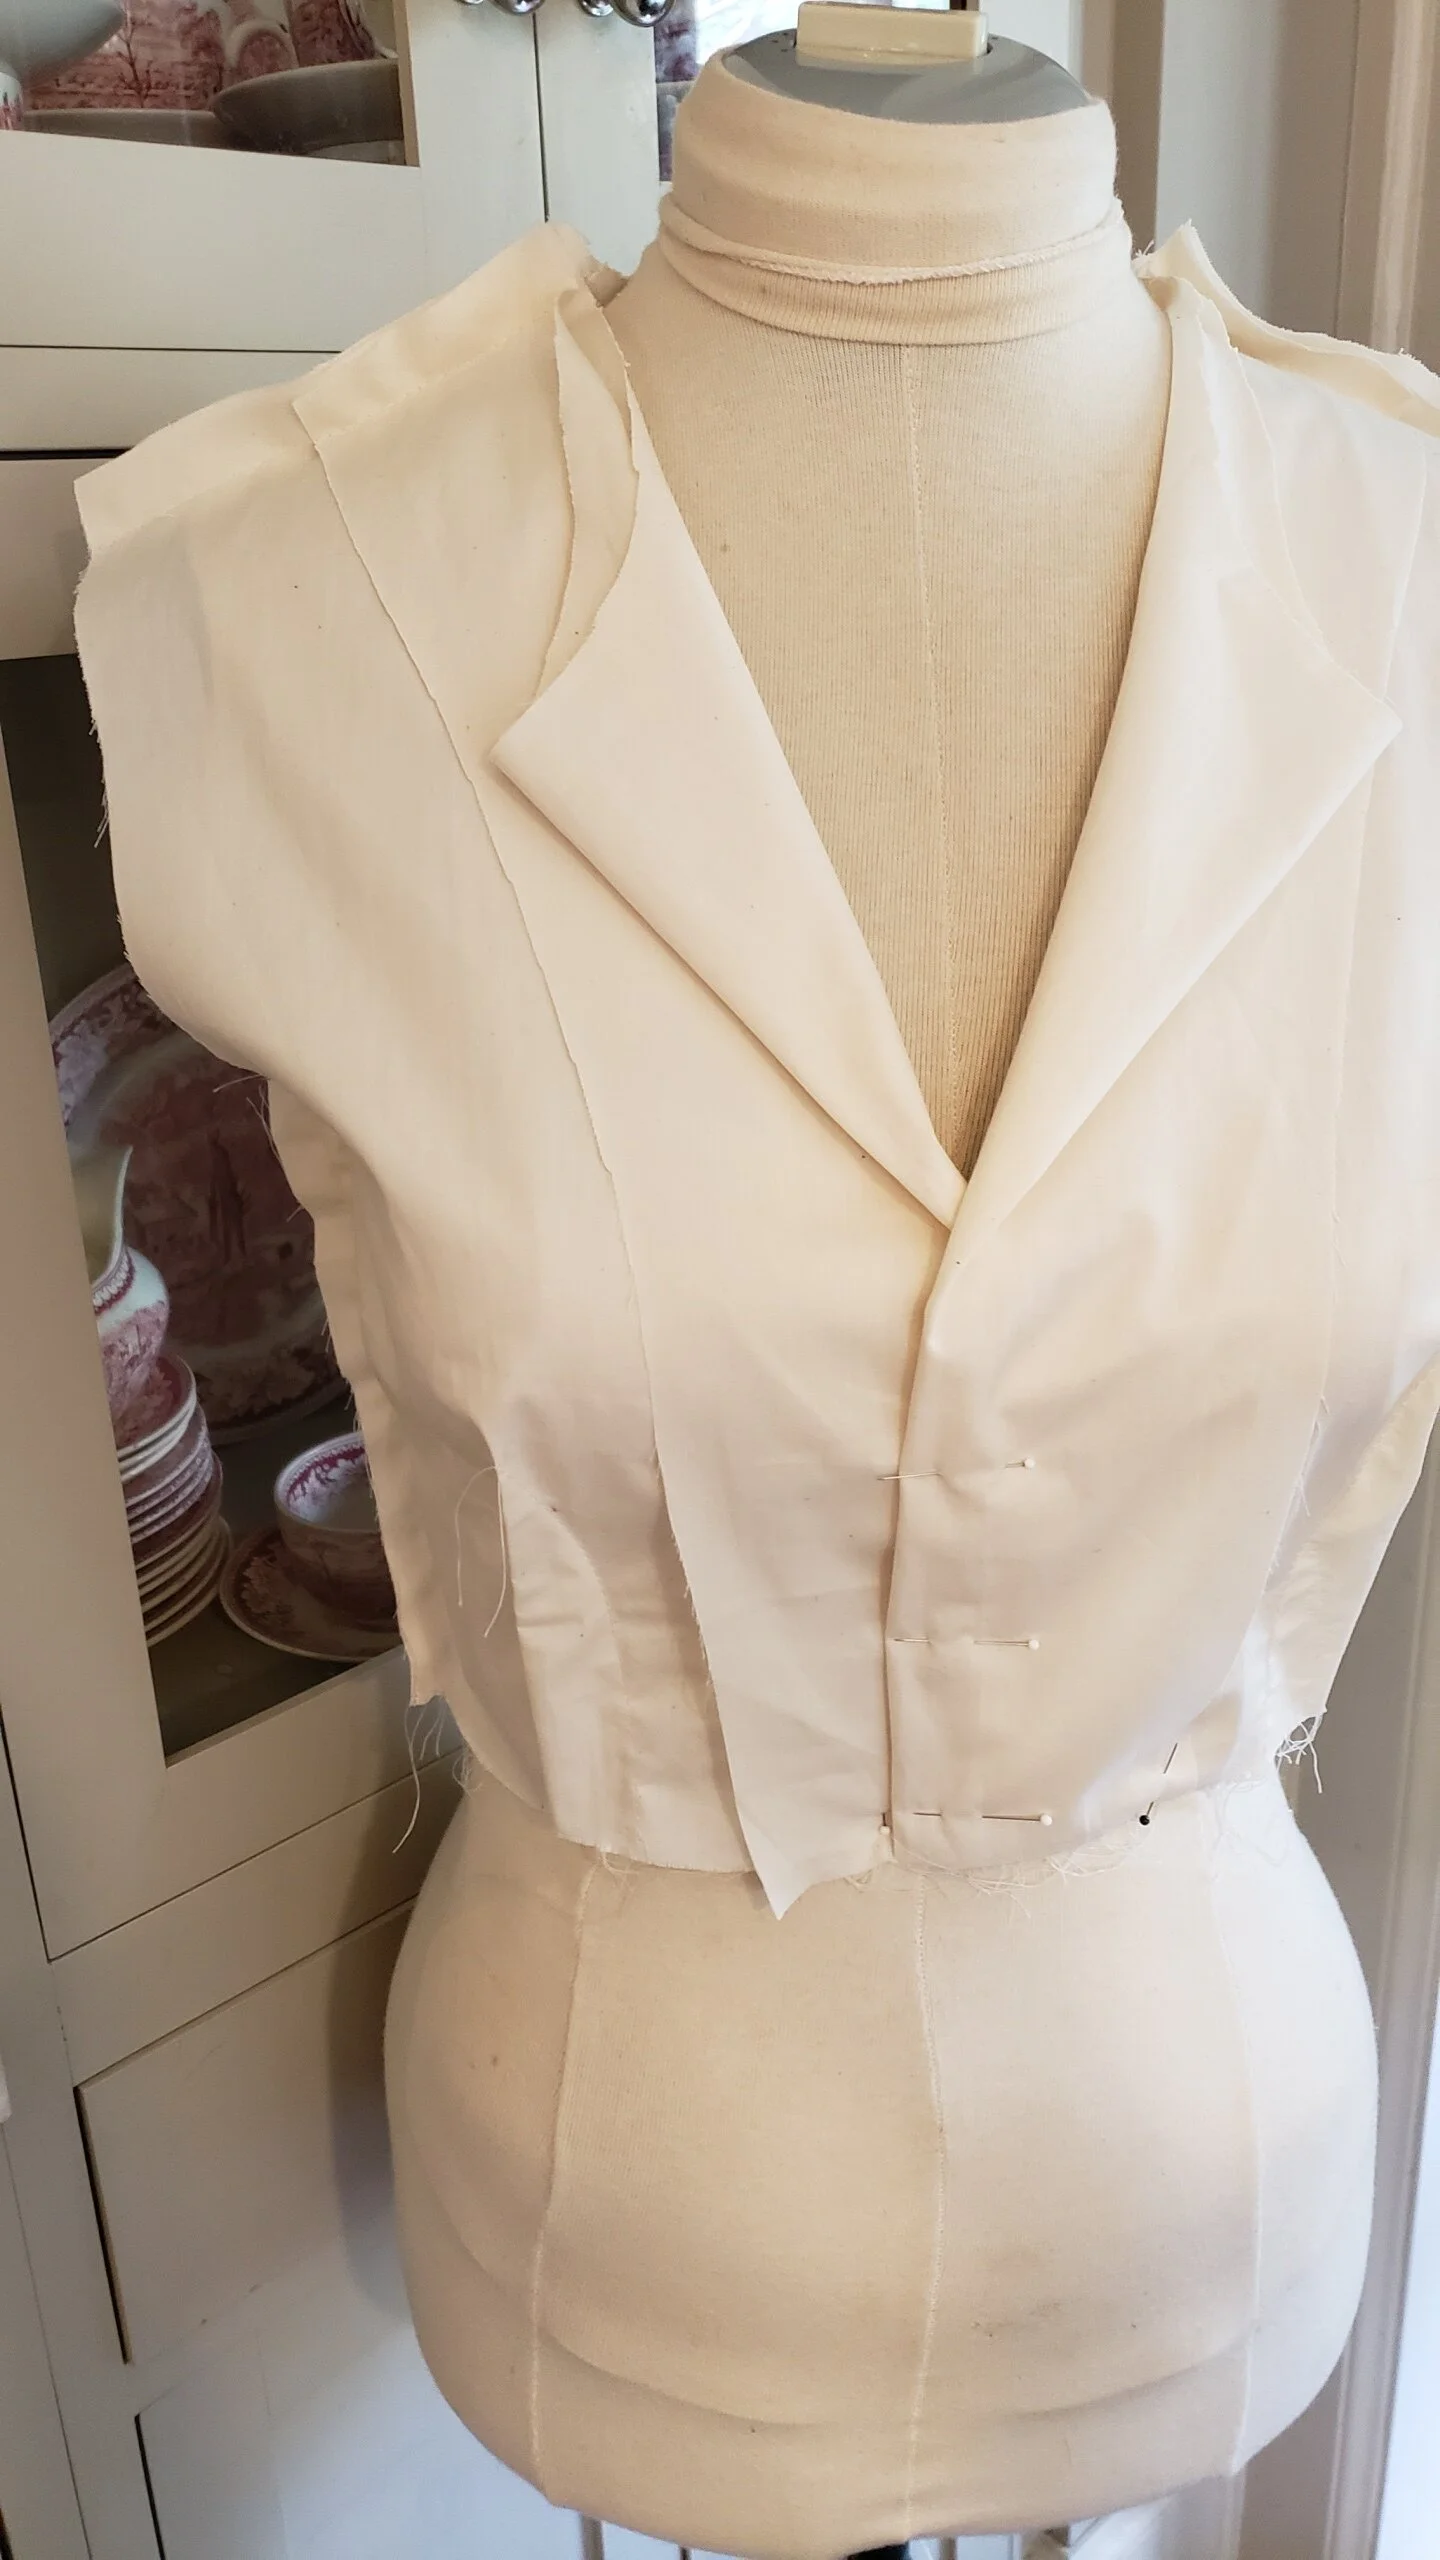
I printed the ePattern at 100% scale, pieced together the new pattern sheet, then took my original interfacing pieces and cut them down to match the size 16. After basting the bodice together, I tried it on the mannequin. Bingo! An absolutely perfect fit, and I wouldn't even need a side dart in the bodice.
Now all that remains is for me to stitch up the new bodice toile in muslin and try it on myself. Once that fit is perfect, I will have my master pattern pieces and will be ready to cut into some beautiful fashion fabric. Stay tuned! Hopefully, we have turned the corner into actual spring and won't have to deal with any more sniffles and sneezes this week....
